A game's interface needs panels in many sizes: a small tooltip, a wide dialogue box, a tall inventory window, buttons for short and long words. Drawing each one by hand is slow, and stretching one image to every size ruins pixel art. 9-slice scaling solves this. One small panel sprite becomes every panel in the game, and its border stays sharp at any size.
How 9-slice works
The sprite is cut by two vertical and two horizontal lines into nine parts. The four corners are drawn as they are and never scale. The top and bottom edges stretch or repeat only sideways, the left and right edges only up and down, and the centre fills whatever space is left. The four cut lines are called the margins: left, top, right and bottom, measured in pixels from each side of the sprite.
So a 48x48 panel with 16-pixel margins keeps its 16x16 corners exactly, and can become a 300x80 dialogue box or a 120x400 inventory column without a single smeared pixel on the frame.
Why pixel art needs it
Pixel art depends on every pixel being one clean square. Scale a whole panel to 3.4 times its width and the border lines become uneven, the corners turn into ovals and the ornaments blur. With 9-slice, the parts that carry the detail are never scaled. Only the plain middle stretches, and a flat colour looks the same at any size.
Stretch or tile?
Most engines let each edge either stretch or repeat. Stretching is right when the edge is a plain line or a flat band: one pixel column stretched to 200 pixels looks exactly like 200 identical columns. Tiling is right when the edge has a pattern, such as rivets, stitching or a carved border: the pattern repeats instead of being pulled apart. If you tile, make the panel's inside size a multiple of the pattern's length, or the last repeat is cut in half.
Every Gridwright UI pack is built so that the stretch rows and columns of every 9-slice sprite are flat, and the build stops if one is not. That means stretching never smears an ornament, and you can use the cheaper stretch mode everywhere.
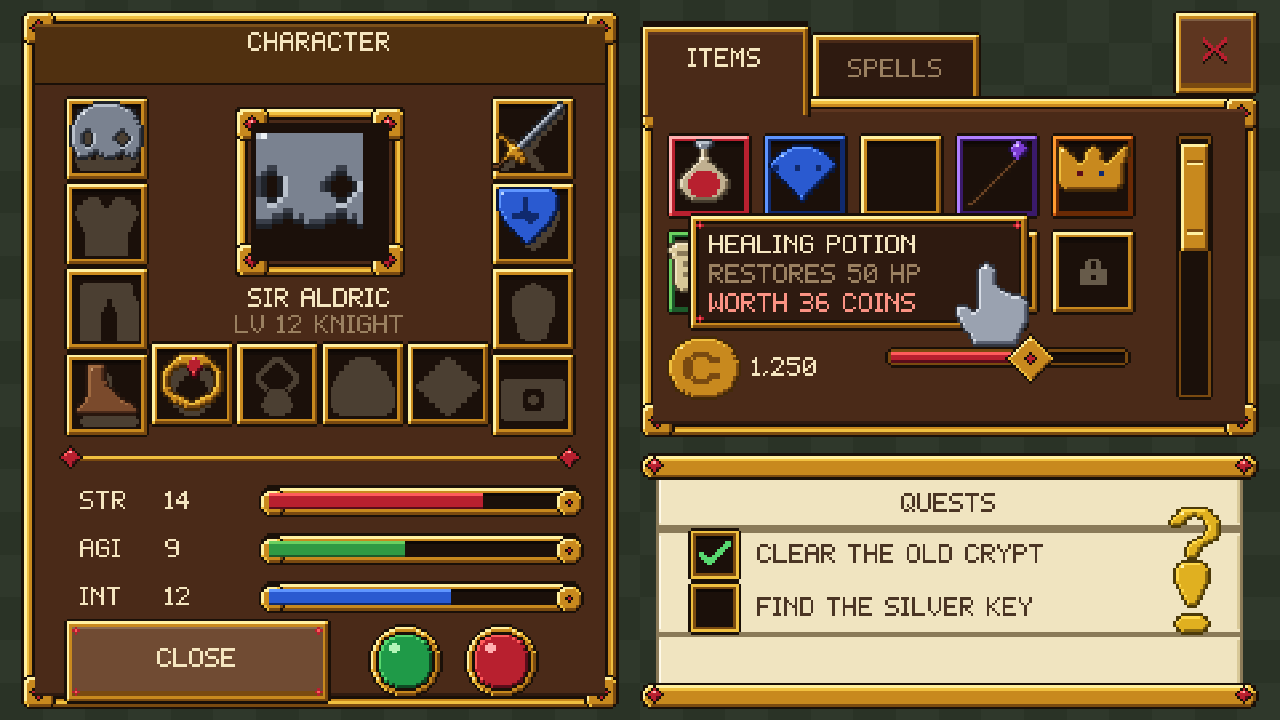
Margins and content area
The margins tell the engine where to cut. The content area tells you where text and icons may go, which is often a little inside the margins, so a label never touches a decorated border. Gridwright sheets come with a JSON map that lists the slice margins and the content rectangle of every panel, so you do not have to measure them by hand.
Setting it up in your engine
- Godot 4: use a NinePatchRect node and enter the four patch margins; set the axis stretch modes to Stretch or Tile. For buttons and panels in a Theme, use a StyleBoxTexture with the same texture margins.
- Unity: open the sprite in the Sprite Editor, drag the green border lines to the margins, then set the UI Image's type to Sliced (or Tiled). Keep the Pixels Per Unit consistent across your UI sprites.
- GameMaker: open the sprite, enable Nine Slice and set the left, top, right and bottom guides; choose stretch or repeat for each part.
- Defold: set the slice9 property on a box node in a GUI scene.
- Phaser 3: use the NineSlice game object with the corner widths and heights.
Keep it pixel perfect
- Size panels in whole pixels of your game's base resolution, not of the final screen.
- Scale the whole UI by an integer (2x, 3x, 4x) with nearest-neighbour filtering.
- Never make a panel smaller than its left plus right margins, or the corners overlap.
- Snap panel positions to whole pixels; half-pixel positions blur the border.
- Use the same scale for all UI, so a 1-pixel border is the same thickness on every panel.
Common mistakes
The most common one is putting a detail in a stretch area, like a small gem in the middle of the top edge. It gets stretched into a long smear. Put such details in the corners, or draw them as a separate sprite placed on top of the panel. The second is mixing panels from packs with different pixel sizes: a 32x32 frame next to a 16x16 button looks like two different games. Pick one grid for the whole interface.
Test your panels before you build menus
Before building every screen of the game, make one test scene with the same panel at five sizes: the smallest you will ever need, a square, a wide dialogue box, a tall column and a full-screen window. Look at them at your real game scale. Check that the corners meet the edges without a gap or a doubled line, that the edges look the same at every length, and that text in the content area never touches the border. Then try the hover, pressed and disabled versions of your buttons at the same sizes. Ten minutes here saves a lot of fixing later, because every menu, tooltip and dialogue in the game will be built from these few sprites.
Panels for every mood
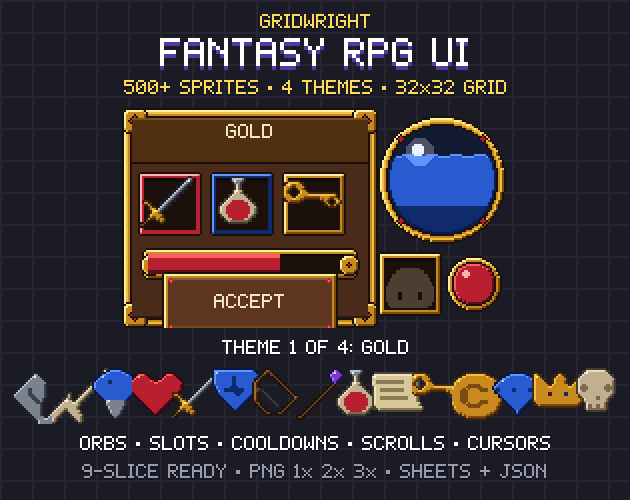
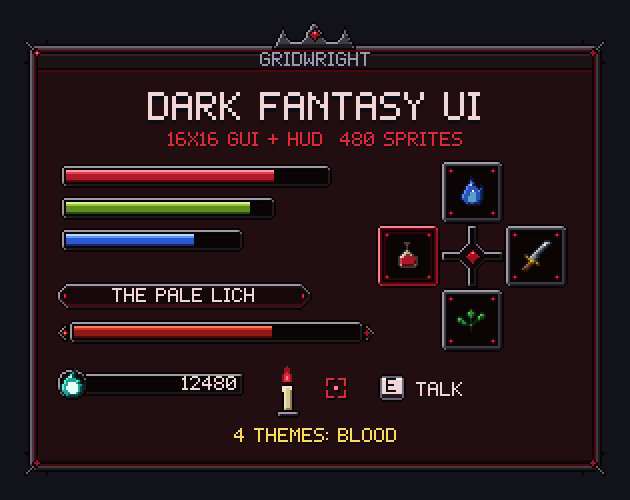
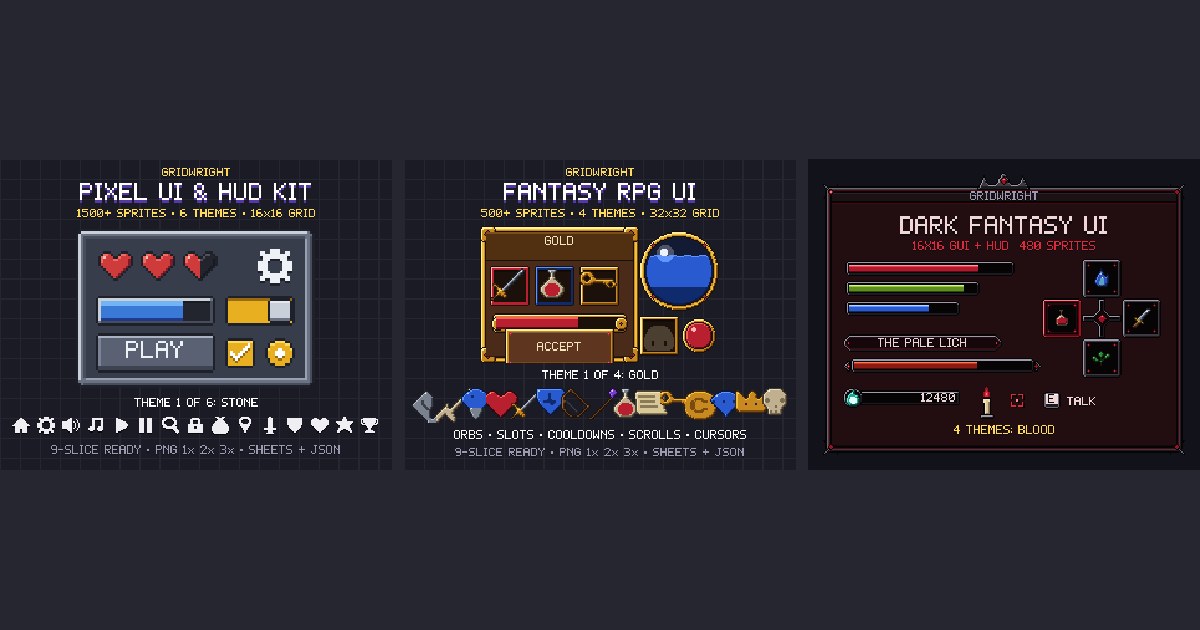
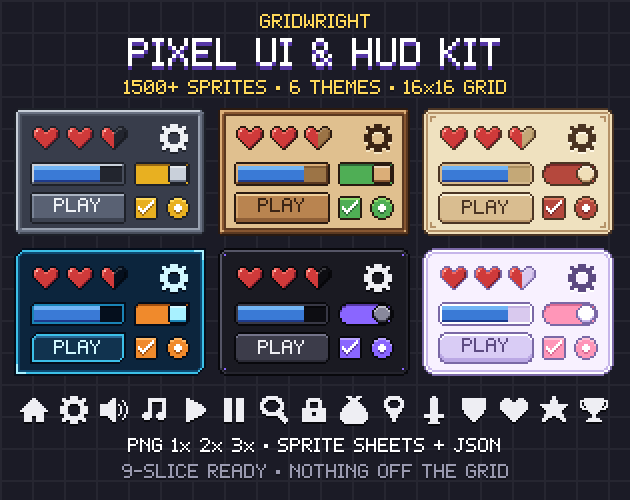
The Gridwright UI Kit covers general panels, buttons, bars and slots on a 16x16 grid in several themes. Fantasy RPG UI has ornate 32x32 frames, Dark Fantasy UI gothic panels and a souls-like HUD, and Casual Game UI bright mobile-style buttons. In every pack each theme has the same file names and layout, so you can reskin the whole interface by swapping one folder. For text inside the panels, see pixel fonts for games.