Godot 4 is a great engine for pixel art games, but its defaults are made for smooth, high-resolution art. Drop a pixel art sprite sheet into a fresh project and it comes out blurry, shimmers when the camera moves and scales unevenly on different screens. A few project settings and a clear import routine fix all of that. This guide goes through them in order, from an empty project to an animated 8-direction character.
1. Turn off texture filtering
Open Project Settings, turn on Advanced Settings, and set Rendering > Textures > Canvas Textures > Default Texture Filter to Nearest. Every sprite in the project now draws with hard pixel edges. You can still override the filter on a single node with its Texture Filter property, which is useful for a smooth background or a high-resolution menu.
2. Choose a base resolution and integer scaling
Decide the resolution your game is drawn at, for example 320x180, 480x270 or 640x360, and enter it under Display > Window > Size as the viewport width and height. Then set Stretch Mode to viewport, Aspect to keep, and Scale Mode to integer. Godot renders the game at the base resolution and scales it up by a whole number, so every pixel is the same size on every screen and nothing shimmers. If the window size is not an exact multiple, you get thin bars at the edges instead of uneven pixels, which is the right trade for pixel art. How to choose a pixel art tile size explains how the base resolution and the tile size fit together.
3. Snap to pixels
Under Rendering > 2D, turn on Snap 2D Transforms to Pixel and Snap 2D Vertices to Pixel. Sprites and the camera then sit on whole pixels, which stops the wobble you see when a character walks slowly or the camera follows smoothly. If you use camera smoothing, test it with this setting on; it removes most of the jitter that sub-pixel camera positions cause.
4. Check the import settings
Select the sprite sheet in the FileSystem dock and look at the Import tab. For 2D pixel art, Compress Mode Lossless keeps every colour exact, and mipmaps should stay off. After changing anything, press Reimport. Lossy compression can shift colours slightly and create seams between tiles, so avoid it for pixel art.
5. Slice the sprite sheet
There are three common ways to use a sheet, depending on what it holds:
- A simple animation: add a Sprite2D, assign the sheet, set Hframes and Vframes to the number of columns and rows, and animate the Frame property with an AnimationPlayer.
- A character with many animations: add an AnimatedSprite2D, create a new SpriteFrames resource, and use the Add Frames from Sprite Sheet button. Enter the grid size, select the cells of one animation in order, then repeat for the next animation.
- Single sprites from a sheet, such as icons: create an AtlasTexture, point it at the sheet and set its Region to the sprite's rectangle.
Tiles go into a TileSet instead: add the sheet as an atlas source and set the texture region size to your tile size. For isometric maps, set the TileSet's tile shape to Isometric and the tile size to the diamond size, for example 32x16.
6. Let the JSON do the work
Clicking frames by hand is fine for one character. For 8 directions and ten animations it is hundreds of clicks. Every Gridwright pack ships sheets with a JSON file that lists the frames of each animation, and the cell size and anchor of each sprite. A short tool script can read that JSON, make an AtlasTexture for every frame and fill a SpriteFrames resource with one animation per name, such as walk_s, walk_sw and so on. Write it once and every new character imports in seconds.
7. Eight directions in code
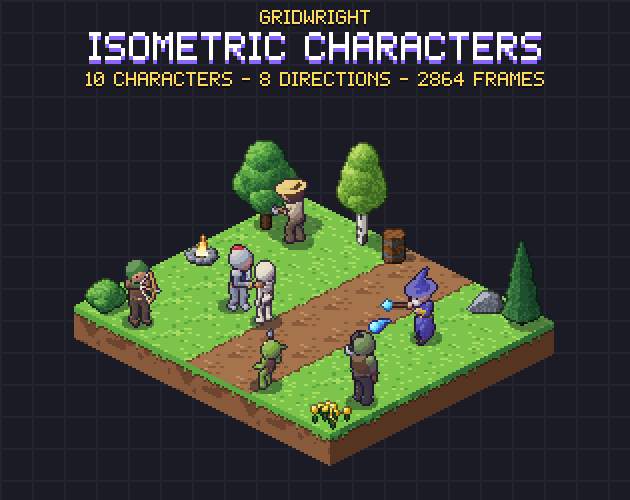
Name your animations by direction and pick one from the movement vector. Take the angle of the velocity, divide it by a quarter of PI (45 degrees), round it to the nearest whole number and wrap it into 0 to 7. That number indexes your list of directions in the same order the pack uses. Keep the last direction when the character stops, so the idle animation faces the way it was walking. Isometric Characters has every direction drawn, none mirrored, so you never need to flip a sprite and swap its weapon hand.
8. Set the origin at the feet
For anything that stands on the ground, the sprite's origin should be where its feet touch the floor. Turn off Centered on the sprite and set the Offset so the anchor point from the JSON lands on the node's position, or keep Centered and offset it upwards. With the origin at the feet, Y Sort on the parent node draws characters in front of and behind props correctly.
Why is my pixel art still blurry?
- The camera zoom is not a whole number, such as 1.5. Use 1, 2 or 3.
- A node or its parent is scaled by a fraction. Scale art by whole numbers only, or not at all.
- One texture overrides the filter with Linear or Inherit from a parent that uses Linear.
- The Scale Mode is fractional, so the whole game is resized by an odd factor.
- The sprite sheet was saved with a resized copy; always import the 1x file and let Godot scale it.
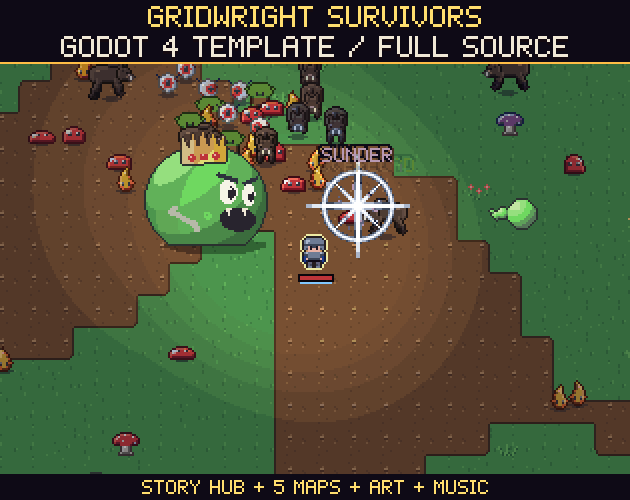
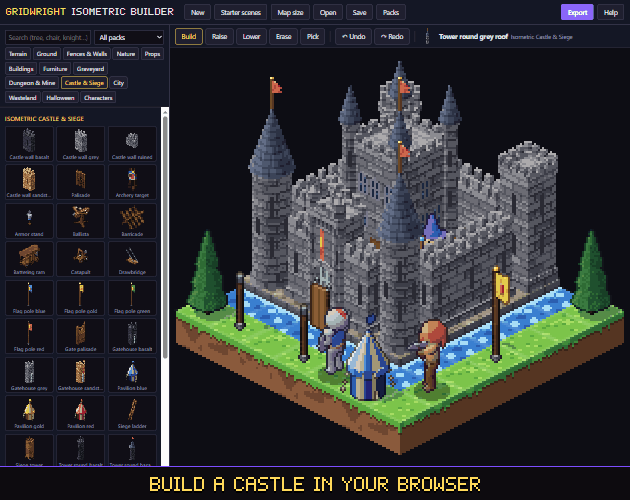
If you want a working example, the Gridwright Survivors Template is a complete Godot 4 pixel art game project you can open and study, and the Isometric Builder exports isometric scenes as Godot scenes with nearest filtering already set.